
How to Sharpen
a Chainsaw Chain
The complete step-by-step guide to safely sharpening your chainsaw with a round file for peak performance and safety.
Why Sharpen? A sharp chain is safer, faster, and healthier for your saw.
Learning to sharpen your own chain is the most valuable skill a chainsaw owner can have. It saves you time, money, and dramatically improves your cutting experience. This guide will show you how to identify a dull chain and how to restore a factory-sharp edge.
4 Signs Your Chain is Dull
Look for these clear indicators that it's time to sharpen.
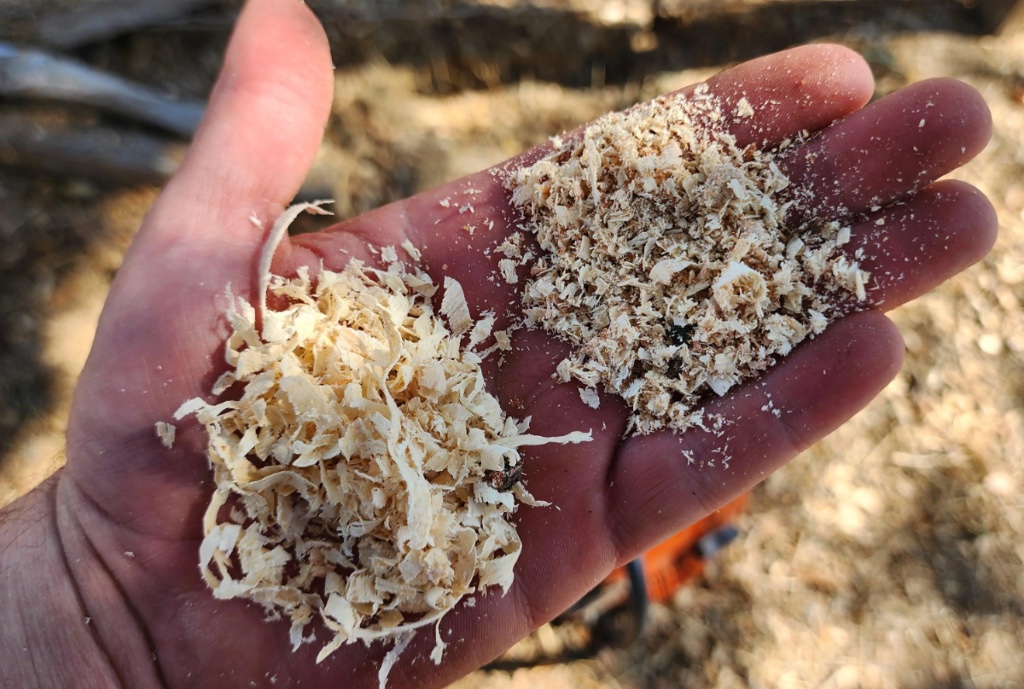
You're Making Sawdust, Not Chips
This is the most obvious sign. A sharp chain produces large, distinct wood chips. A dull chain grinds the wood into fine powder or dust.
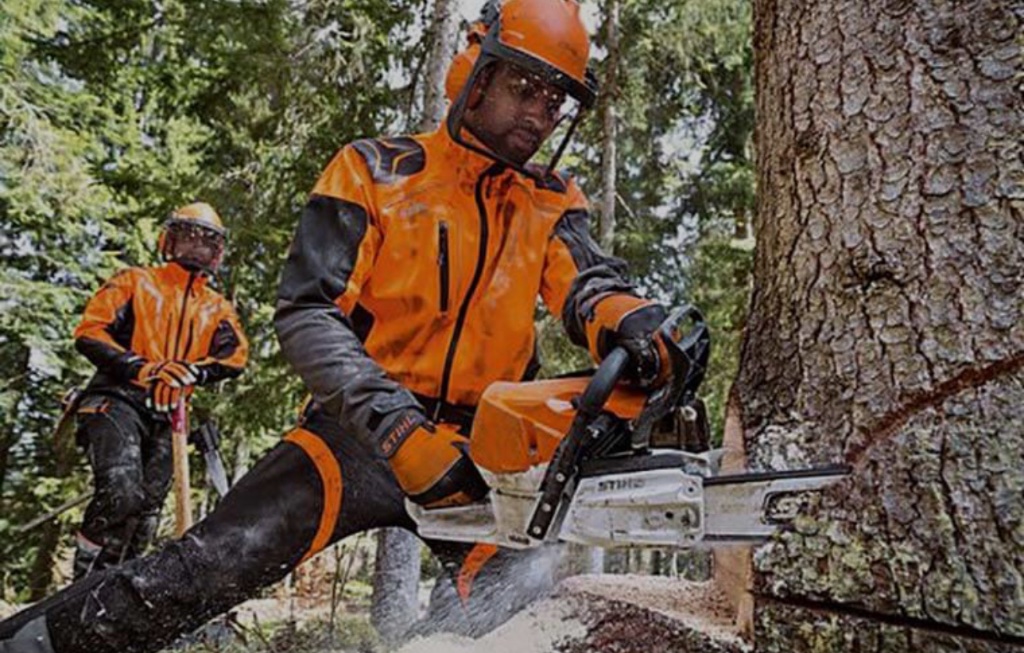
You Have to Force the Saw
You should only need to apply light pressure to guide the saw. If you find yourself pushing down hard to make it cut, the chain is blunt.
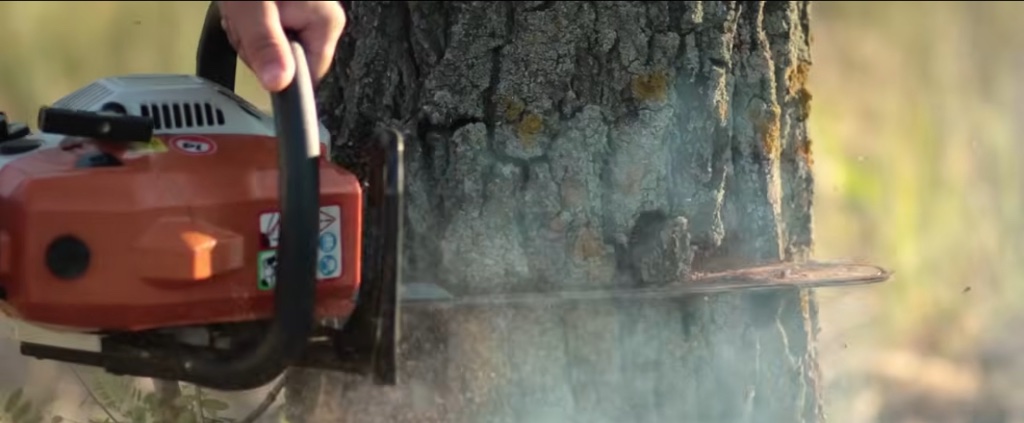
The Saw Smokes in the Cut
Smoke coming from the cut is a sign of excessive friction, not efficient cutting. This indicates the dull teeth are rubbing and burning the wood instead of slicing it.
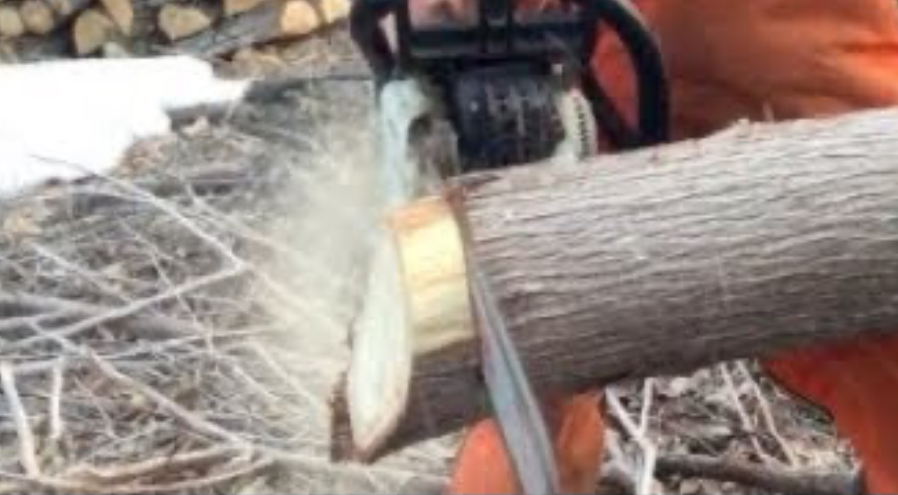
The Saw Cuts Crooked
If the saw pulls to one side, it's a sign that the cutters on one side of the chain are sharper than the other. This requires immediate sharpening to correct.
A Dull Chain is a Dangerous Chain
Massively Increased Kickback Risk
A dull chain doesn't slice cleanly, so it's more likely to snag on wood and violently throw the bar back towards you. This is the single greatest danger of using a chainsaw.
Operator Fatigue & Loss of Control
Forcing a dull saw is exhausting. Fatigue leads to poor decision-making, incorrect posture, and a much higher chance of a serious accident.
Damage to Your Chainsaw
The extra strain and vibration from a dull chain can overheat your clutch, damage the bar, and put unnecessary wear on the engine and sprocket.
Clogs Filter & Wears Engine
Fine sawdust from a dull chain clogs the air filter, causing power loss. Worse, these tiny abrasive particles can get past the filter and into the engine, scoring the piston and cylinder, causing permanent damage.
The Right Tools for the Job
Round File & File Holder
Must match your chain's specific size (e.g., 5/32", 3/16"). The holder ensures the correct angle and depth.
Flat File
For filing down the depth gauges (rakers).
Depth Gauge Tool
Essential for checking and setting the correct depth gauge height.
Bench Vise
Crucial for holding the chainsaw bar securely and safely.
Gloves
Protect your hands from sharp cutters.
Stiff Brush
For cleaning debris from the chain before sharpening.
The 7 Steps to a Perfectly Sharp Chain
Identify Chain Specs
Find the chain pitch, gauge, and file size. This is CRITICAL. The numbers are often stamped on the side of the bar or on the chain's drive links. If unsure, bring it to us.
Secure The Saw
Clamp the guide bar firmly in a vise with the chain free to move. Engage the chain brake for safety.
Clean & Mark
Use a stiff brush to clean any oil and wood debris from the chain. Use a marker pen to mark your starting cutter so you know when you've completed a full rotation.
Sharpen First Side
Place the file guide on the chain, ensuring the file sits snugly in the cutter. The guide will have angle marks (usually 30°). Align these marks parallel with the bar. Use smooth, firm pushes *away* from your body. Give each cutter 3-5 consistent strokes. Sharpen every other cutter.
Sharpen Second Side
Release the vise, turn the chainsaw around, and re-clamp it. Now sharpen the remaining cutters (the ones facing the opposite direction) using the same angle and number of strokes.
Check Depth Gauges (Rakers)
After every 3-5 sharpenings, check the depth gauges (the small shark-fin shapes in front of each cutter). Place your depth gauge tool over the chain. If a raker protrudes, use a flat file to file it down level with the top of the tool.
Final Checks
All cutters should appear uniform in length and angle. Check chain tension and ensure it is properly lubricated before use. The chain should not sag but should pull away from the bar slightly.
When to Call Us
DIY sharpening is for maintenance, not major repairs. If your chain is heavily damaged from hitting a rock, has multiple broken cutters, or you simply can't get a sharp edge, it's time for a professional service. We use precision grinders to restore the factory profile and ensure every cutter is perfectly uniform.